Fitting guide
Tutorials
Want to install your stretch fabric by yourself? You absolutely can! Whether you’re a DIY enthusiast or simply curious, our detailed tutorials guide you step by step through the installation of your stretch ceiling or wall. You’ll learn how to choose the right profiles, position the fabric correctly, and use the proper tools to achieve a clean, custom finish. Thanks to our guides, installing your stretch fabric becomes simple and accessible, while improving both the look and acoustic comfort of your space.
6 important rules that will make you an installation expert
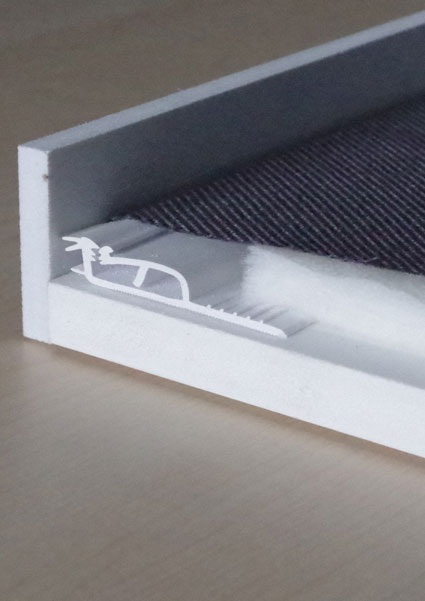
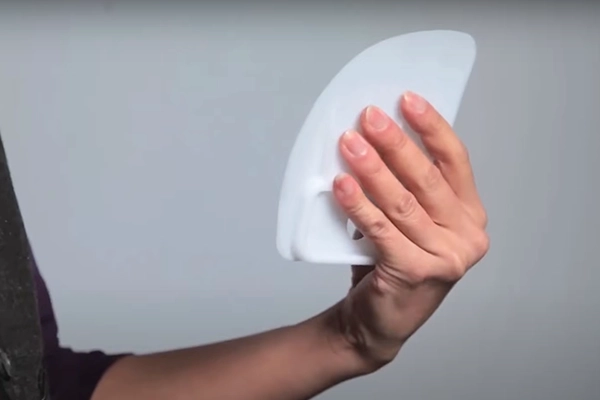
Proper spatula handling
The spatula has a crescent shape. Only the “belly” of the spatula should be used when installing.
Do not use the pointed ends during the installation process. Roll the belly of the spatula inside
the profile groove to ensure the fabric locks correctly inside the clamp (this operation is also
called “Swaling the fabric”). Whichever SWAL™ profile you use, always start by clipping the spatula
into the clamp without the fabric. Then release it. It will naturally take a position. This position
indicates the angle you should use to insert the fabric.
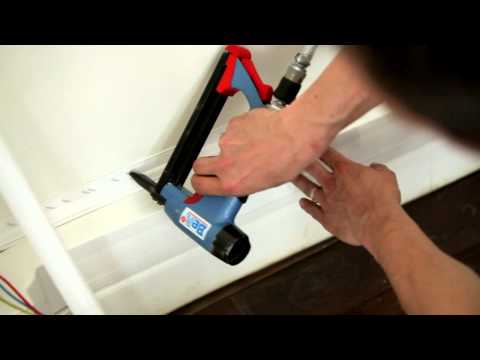
It is essential to use putty knives designed specifically for stretched canvas.
Any other type of putty knife used in other trades (for plastering, painting, etc.) is not suitable.
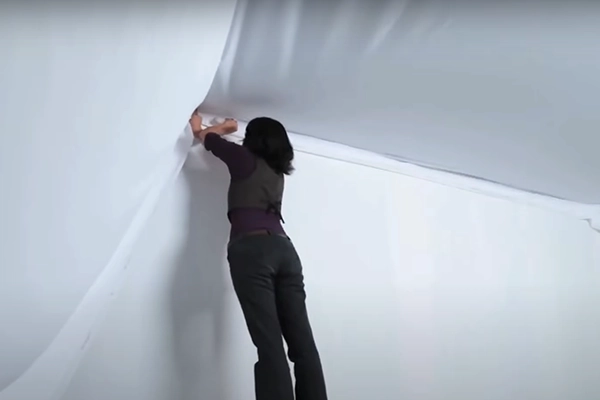
A two-step installation
You cannot properly tension a wall or ceiling by starting from one side and finishing on the opposite one. Installation must be done in two steps: positioning (appointing) and tensioning. This is essential to respect the straight-grain rule. A textile behaves like a mesh, with warp and weft threads. To achieve a perfectly stretched fabric, you must maintain the linearity of the weave (horizontal and vertical threads).
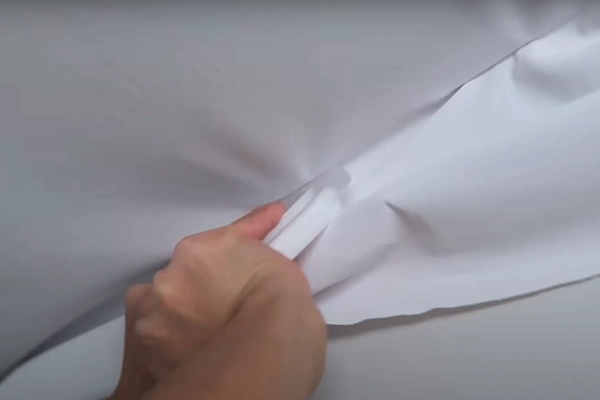
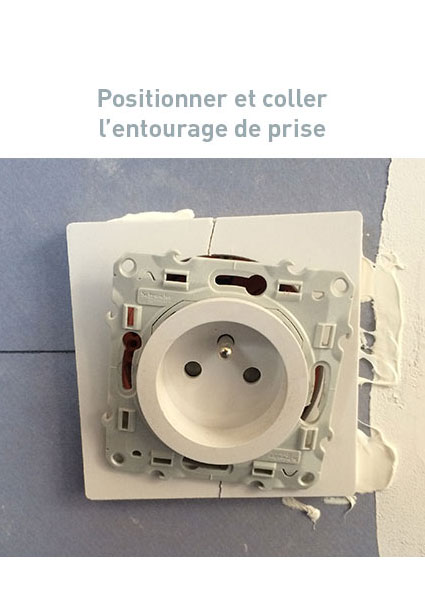
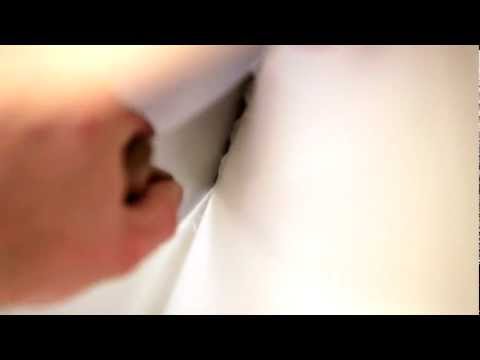
Positioning (appointing)
Appointing consists of clipping the fabric every 30 to 60 cm into the tension profile (same process for stretch fabrics and stretch ceilings). This is the most important step and requires great care. To ensure proper appointing, the excess fabric must remain consistent along the entire wall or ceiling. For example, if you start with 5 cm of excess, you should end with the same 5 cm (give or take 1–2 cm) at the end of the side. Same for the other three sides. During this step, the fabric is not yet tensioned—you are only positioning it.
Tensioning
Now it is time to tension the fabric and complete the installation. Insert the fabric between each appoint by creating additional appoints between those already placed. During this step, pinch the fabric with your fingers while pushing it into the profile using the spatula. This ensures perfect tension. Then connect the appoints together. If ripples appear, simply undo a few previous appoints and reposition the fabric with greater tension.
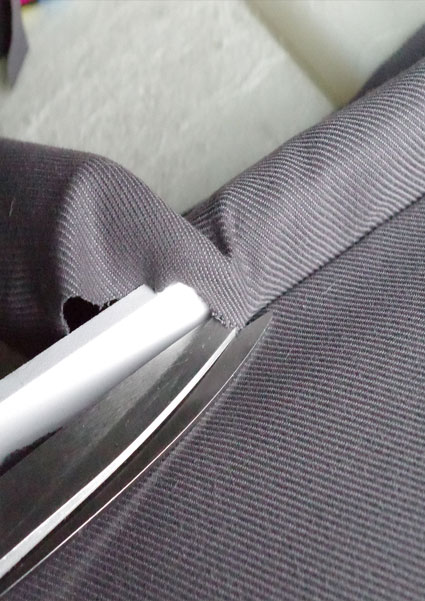
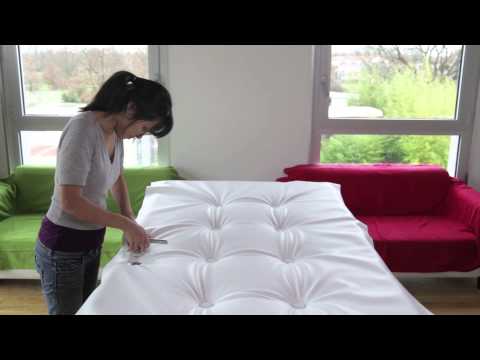
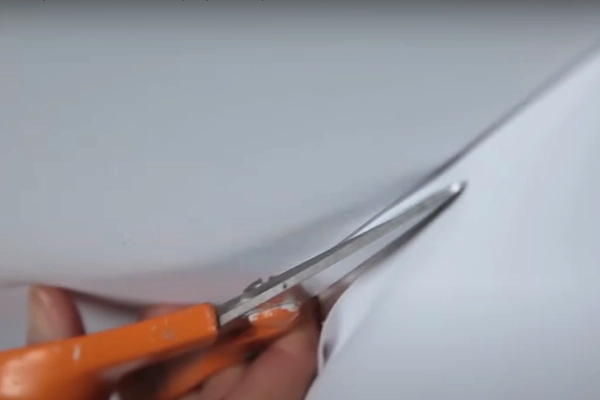
Trimming the excess
The excess fabric can now be trimmed directly with scissors or a cutter, using the profile as a guide to ensure a straight, clean cut. It can also be used to wrap the profile to create a faux-piping effect.
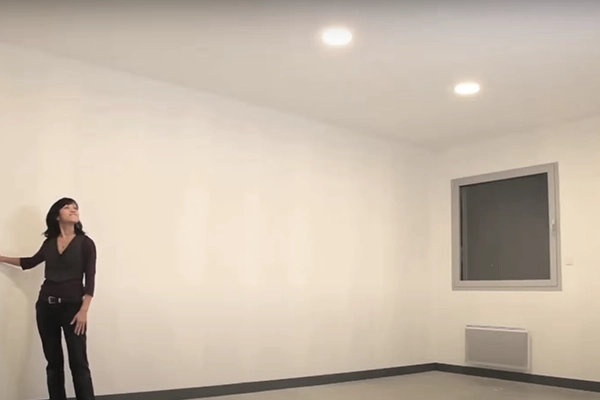
Enjoy the acoustic benefits
Stretch fabrics naturally provide acoustic treatment thanks to micro-perforations and sound-absorbing materials behind them (waddings, foams, mineral wool, etc.).
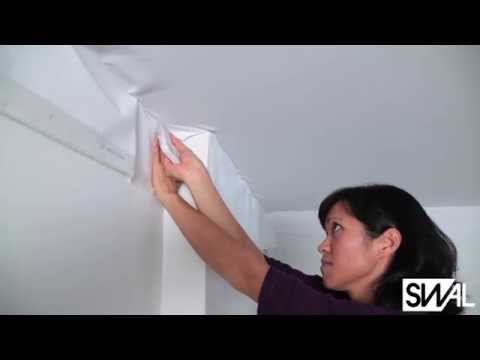
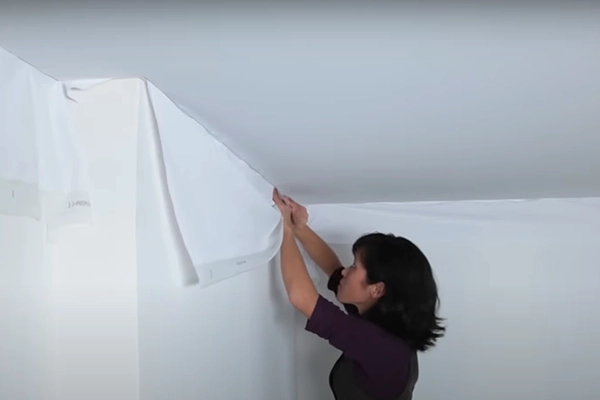
How to install a stretch ceiling
How to install a wall canvas
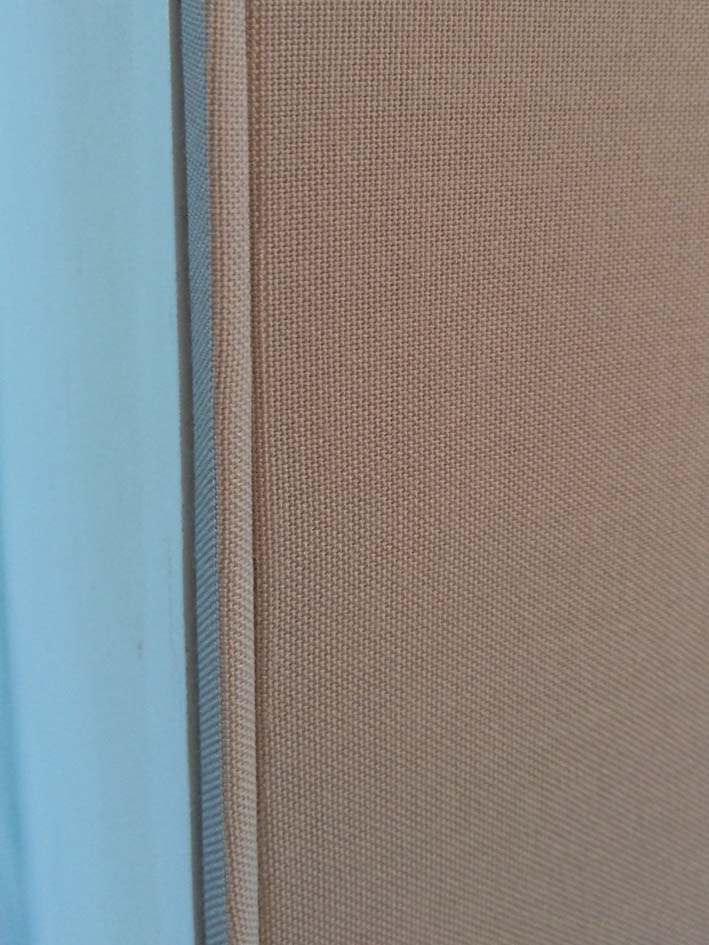
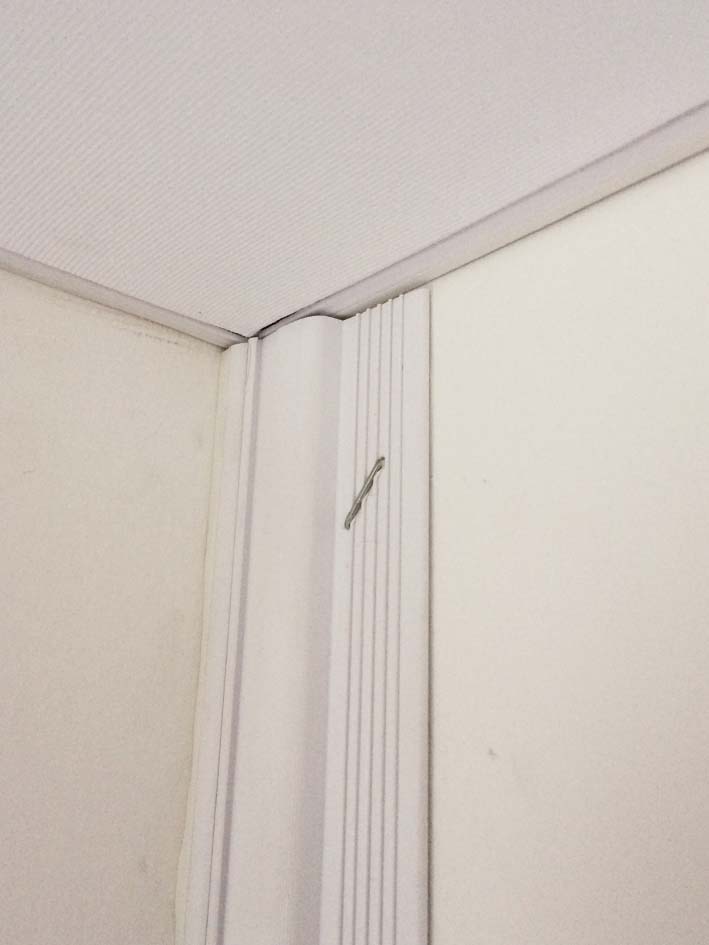
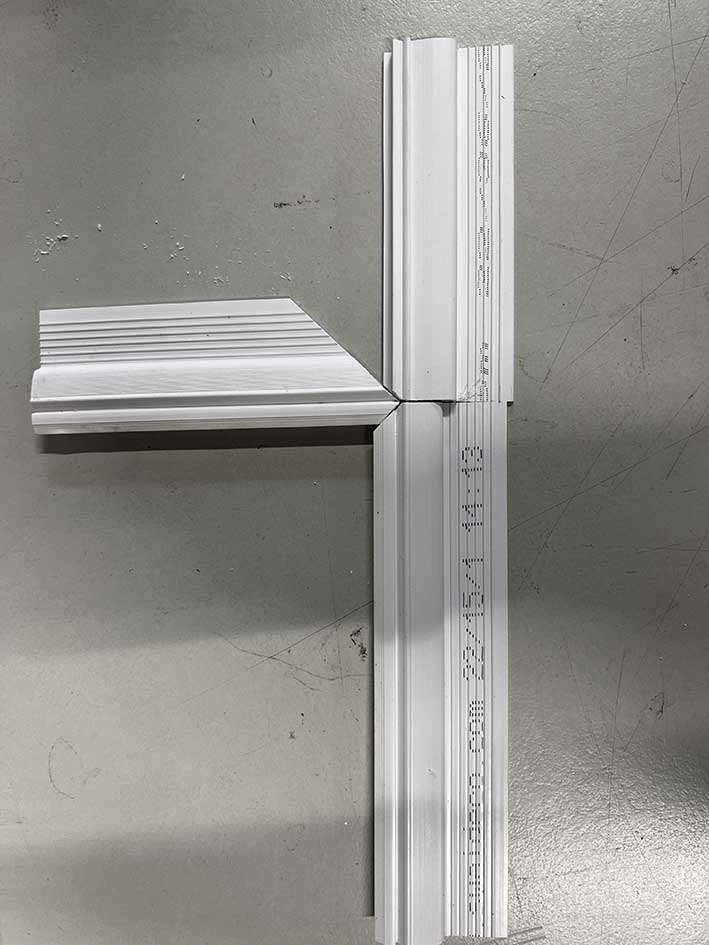
See details and subtle techniques in images
Joints, seams, profiles and finishing touches: every detail matters to achieve a flawless stretched ceiling or wall. The goal is to show how each element contributes to the final quality and appearance. These close-up views help you understand best practices, anticipate technical points, and master your project for a professional-level result.